ToothDoQ Blog · Cosmetic
Are DIY tooth-gem kits safe? What dentists want you to know
We are pro-sparkle and pro-enamel, and those two positions collide in a $12 kit. What the glue actually does, why placement matters, and the safer way to get the look.
By ToothDoq Team · · 6 min
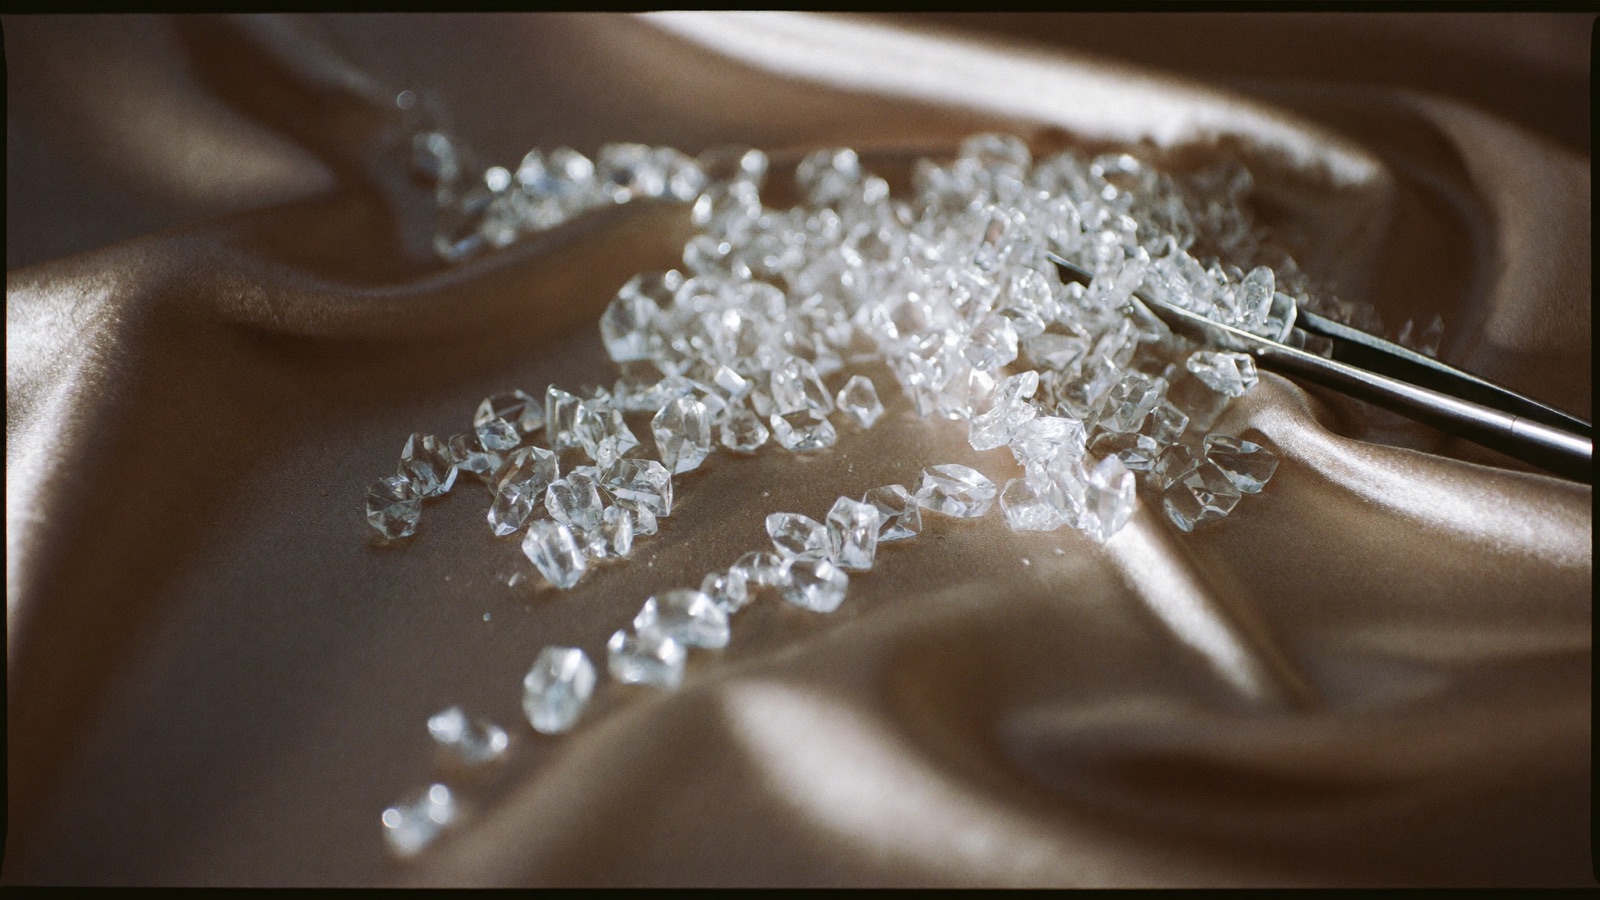
Tooth gems are having their third or fourth comeback, and this round arrived with a twist: kits that let you glue a crystal to your own tooth at your kitchen table for the price of lunch. Let's be clear about where we stand, because it is not "fun is bad for you." A tooth gem, done properly, is a low-drama bit of self-expression. The problem is not the gem. The problem is what is in the kit, and the two words dentists keep coming back to: enamel doesn't grow back.
This is general information, not a diagnosis or treatment advice. See a dentist for advice about your situation.
What's actually in a DIY kit
A typical kit contains crystals, an adhesive, sometimes an acid "primer," and a UV light. The crystals are usually fine. Everything else deserves scrutiny. Dental adhesion works by etching the tooth with an acid that microscopically roughens the enamel so a bonding resin can grip it. In a dental office, that etch is a controlled product, applied to a tiny spot, on a tooth that has been cleaned, dried, and isolated from saliva. In a kitchen, it is an unregulated liquid of uncertain strength applied freehand to however much tooth it touches.
Worse, some kits skip dental materials entirely. Adhesives sold or improvised for this trend have included glues never tested for use inside a mouth, including nail glue, which is cytotoxic to gum tissue and was never meant to sit against a living surface. "It's strong enough" is not the standard. "It's safe against your gums for months" is, and most of these products have never been asked the question.
What can go wrong, specifically
- Permanent enamel damage: over-etching or scraping a failed gem off strips enamel that will not regenerate
- White spots and staining: the etched halo around a gem decalcifies and can stay visible for years after the gem is gone
- Decay under and around the gem: the edge of the gem is a plaque trap, and a cavity there sits on a front tooth where fixes are most visible
- Chipping: biting something hard against a glued crystal can chip the gem, the tooth, or the tooth opposite it
- Gum irritation and allergic reactions to non-dental adhesives
- Swallowing or inhaling a gem that pops off, usually at night
None of these are exotic outcomes. Cleveland Clinic's dental team describes the same list, and adds the one people skip past: a gem placed over an existing, unnoticed cavity seals the problem in and lets it grow quietly. Tooth decay is already the most common chronic disease going, per the National Institute of Dental and Craniofacial Research. It does not need a hiding place with rhinestones on it.
Why professional application is different
When a dentist or trained provider places a gem, the differences are invisible and decisive. The tooth is examined first, so nobody glues a crystal over a cavity. The etch is dental-grade, placed on a spot the size of the gem, not the whole tooth. The bonding resin is the same material used for orthodontic brackets, designed to sit on enamel for months and, critically, to come off cleanly. Removal is a polish, not a pry. And the placement avoids your bite path, so you are not tapping a crystal against the opposite tooth three thousand times a day.
Professionally applied gems are not risk-free. There is still a plaque edge to keep clean, and a spot of enamel that spent months under resin. But it is the difference between a piercing done at a studio and one done with a sewing needle: same jewelry, very different risk profile.
Already have one? Here's the care routine
If a gem is already on your tooth, DIY or otherwise, don't panic and don't pick at it. Brush normally and thoroughly around the gem, because the edge where gem meets enamel is exactly where plaque wants to live. Skip the temptation to test it with your fingernail. Watch for warning signs: white or brown discoloration around the base, sensitivity in that tooth, redness in the nearby gum, or a gem that wiggles. Any of those is your cue to have it looked at.
Set expectations on lifespan, too. Professionally bonded gems typically stay put for several months to a year or so before the bond gives; kit adhesives usually fail sooner, and every early failure is another round of glue and etch on the same patch of enamel. If yours falls off, resist the urge to reglue it with whatever is in the drawer. That is precisely the move the tooth does not recover from.
When you want it off, have it removed professionally. Prying a bonded gem off at home is how a fashion decision becomes a chipped front tooth. A dentist removes the gem and polishes away the leftover resin without taking enamel with it. If you are not sure whether the tooth under or around a gem looks right, a photo and the free ToothDoQ tooth scan will give you an honest first read in under a minute, no signup, and no lecture.
The bottom line
If you want the look, get it placed by someone qualified, on an examined tooth, with dental materials, and plan the removal the day you plan the placement. If the appeal of the kit is the price, consider the alternatives that cost nothing to undo: tooth-safe temporary jewelry exists, and a professionally placed gem, typically modest money at practices that offer cosmetic work, is cheap insurance against fixing a front tooth. ToothDoQ lists practices with their real prices shown up front, cosmetic work included where practices offer it, so you can compare the professional option against the kit with actual numbers instead of vibes. Sparkle responsibly.
Wondering about the tooth under the sparkle? Scan it. A photo gets you an honest first read in about 45 seconds, free and anonymous. Scan the tooth · How ToothDoQ works